| Posted by: |  | EPHERE |
| Data created: | 5 April 2016 | |
Ali was informed that the Maya version of Ornatrix hair is coming by one of his best friends Alireza Akhbari, who is an avid user of Ornatrix for 3dsmax. Ali was able to pick up Ornatrix for Maya and these are the steps he took to create his latest masterpiece.
"First I made the model in Z-Brush and used Photoshop for texturing and for hair maps. For rendering I used Maya, V-Ray, and Ornatrix. "I had many choices for my characters hair with Ornatrix. First thing to create was the distribution map. It allows to specify parts of the model which will grow the hair. I painted a mask map and added it to distribution map slot of the Hair from Guides operator (white parts specify where hair is growing)."
The distribution map is just one of the many maps which Ornatrix can accept to parametrically control various parts of a groom.
"To allow me to style the hair in a free-form way I first decided to clear all of the automatically generated guides."
"To do this I set count to 1 in Guides from Mesh operator in order to eliminate all the guides."
"Then I added Edit Guides operator and turned on Plant Guide Tool to paint on the new guides"
Plant Guide Tool allows a user to manually click on the distribution surface inside the viewport to add new guides to the model.
"To get the hair scale that I needed I used Cut, and Length brushes."
Cut brush was used to manually change the length of the hair by clicking inside the viewport to cut out unwanted parts.
"I dragged guides with Edit Control Points tool for styling and edited them further with the Comb brush. This process added some noise which I fixed with Smooth brush. There are many brushes in the Edit Guides operator and I enjoyed using all of them."
A variety of brushes in Ornatrix allows creating the shape of the hair that you want while giving quick visual feedback inside the viewport. Brushing is intuitive and easy to pick up and learn.
The brush tool set can be used to select your current tool of choice.
"I did character's beard with Ornatrix hair as well."
The moustache was created by creating a separate object and using Control Points again to define the shape. Control points allow you to select and drag any part of guide selection to move them around using Maya's transform tools.
All of the character hair is composed of multiple objects configured separately using the Hair Operator Stack (on the left).
Operators can be seen for the selected object inside the Hair Operator Stack.
"For rendering I used V-Ray. I combined Ornatrix and V-Ray to have fast and amazing results."
"For eyebrows and eyelashes, before Edit Guides operator, first I used the Surface Comb operator. It is a fast solution to style this type of hair.'
Ali used Ornatrix parametric tools to generate different versions of the character before settling on the look he liked:
Attached Files: 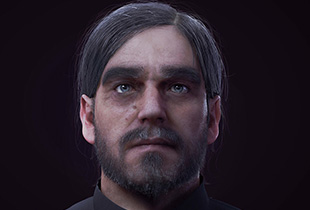 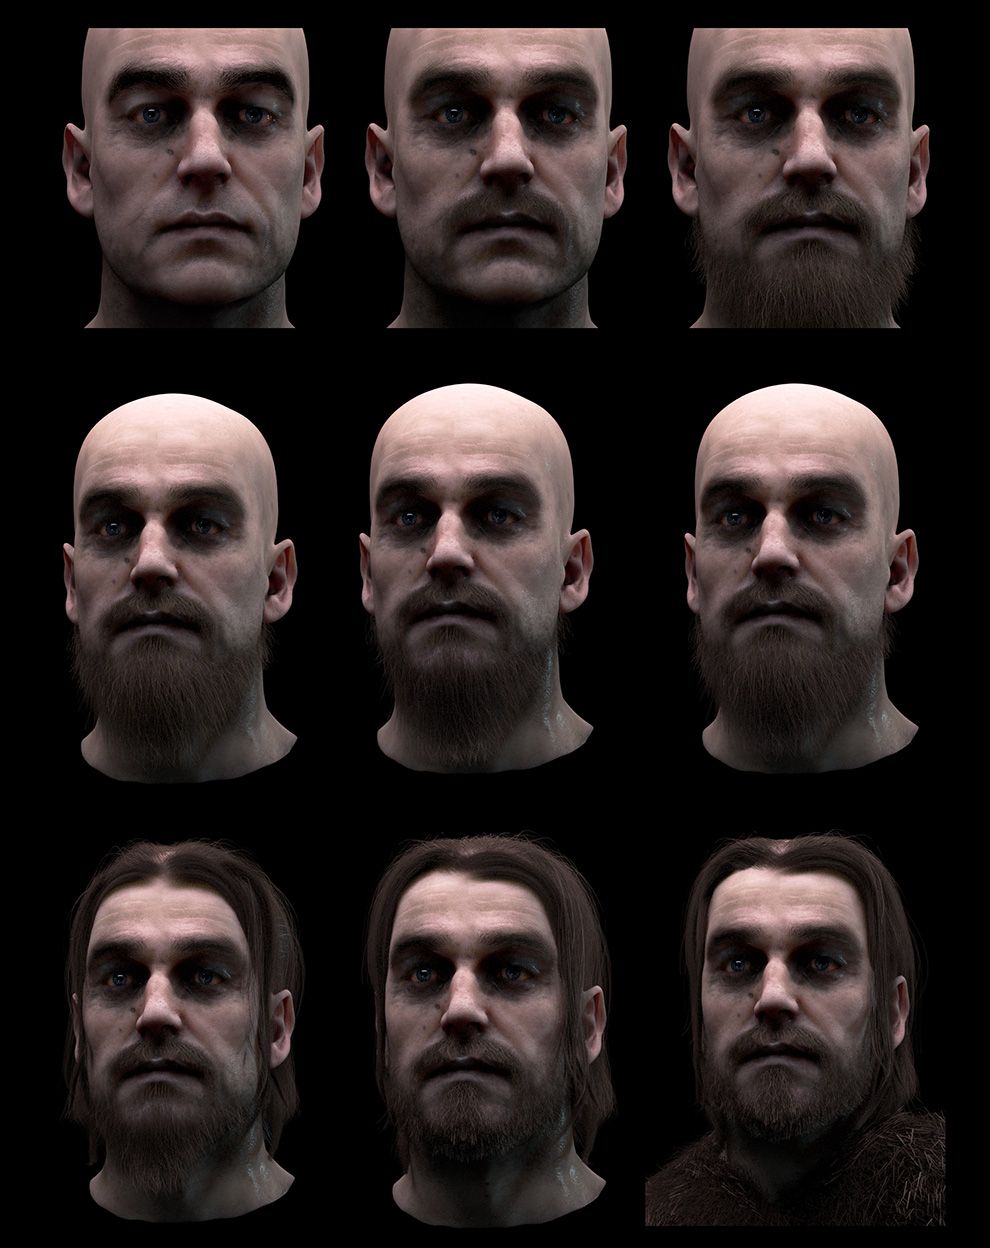 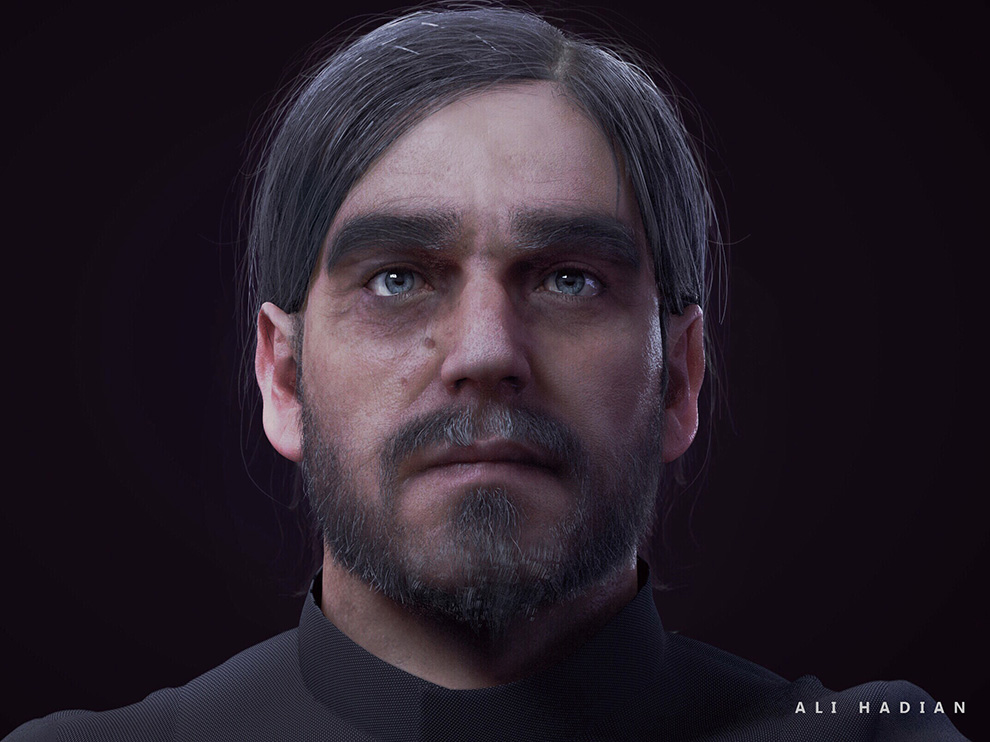 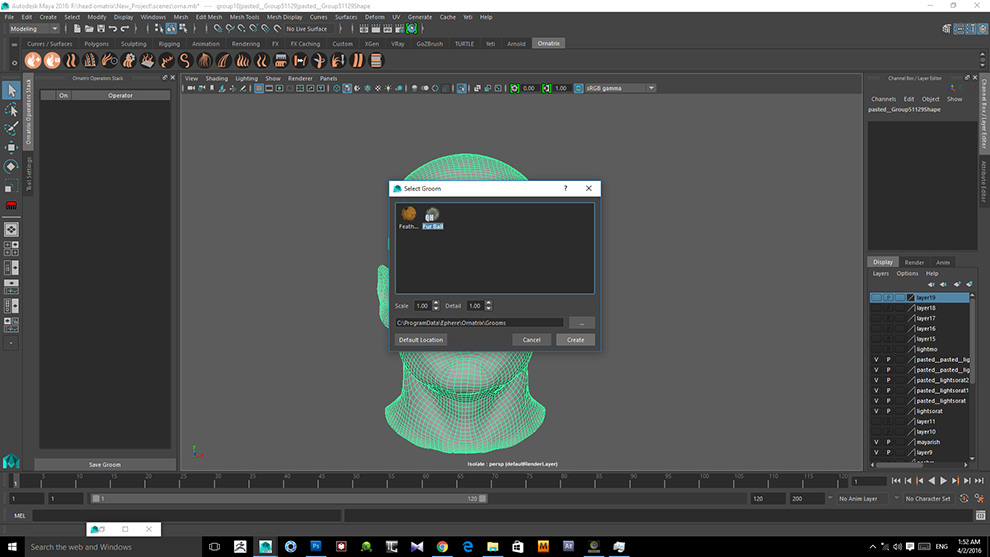 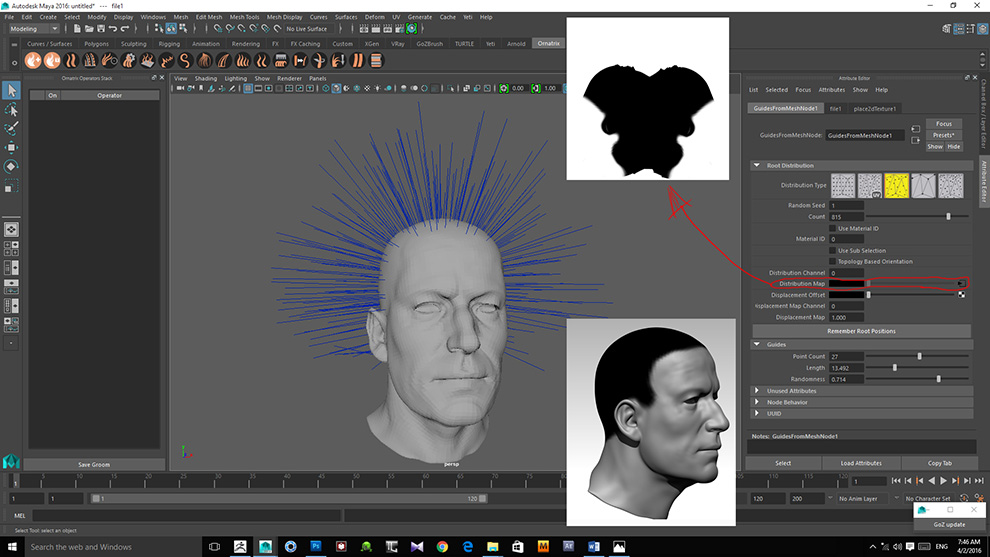 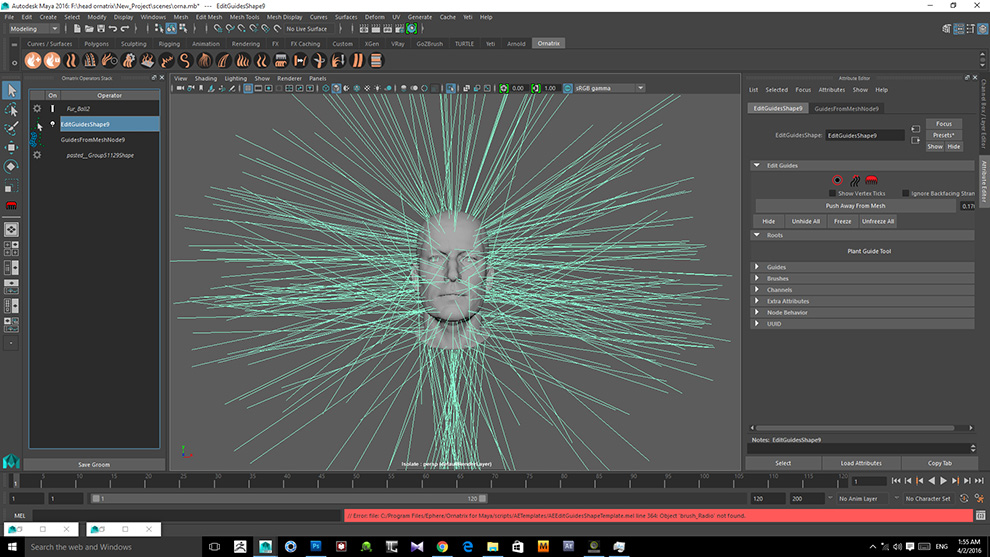 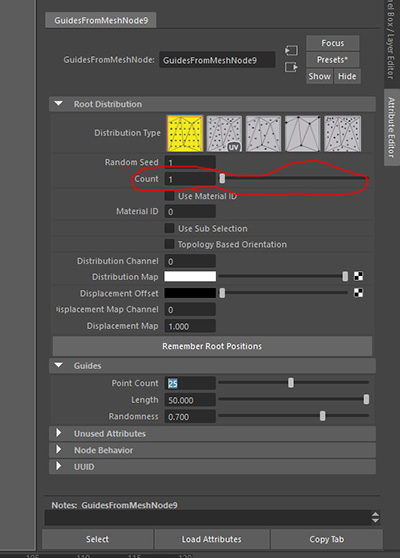  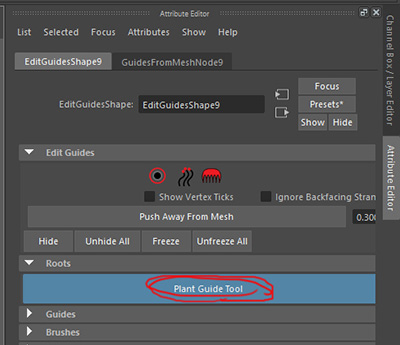 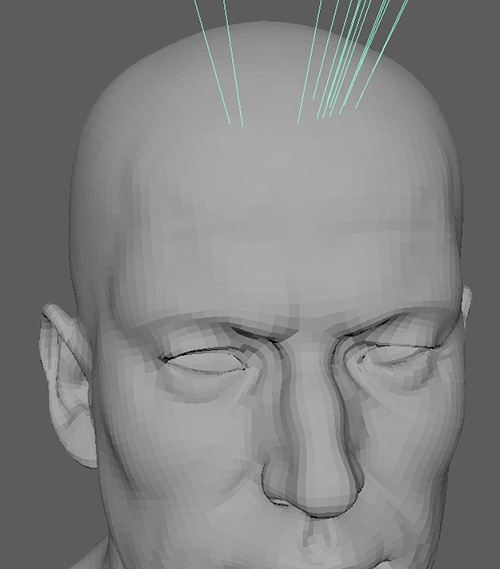 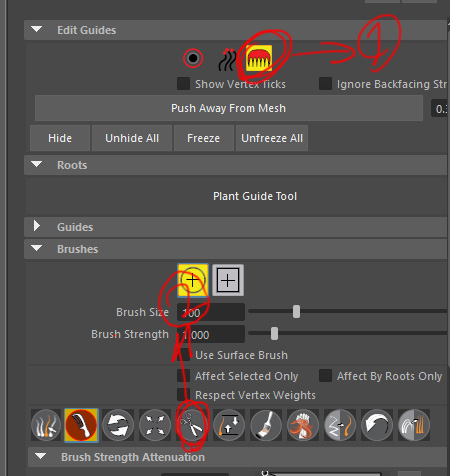 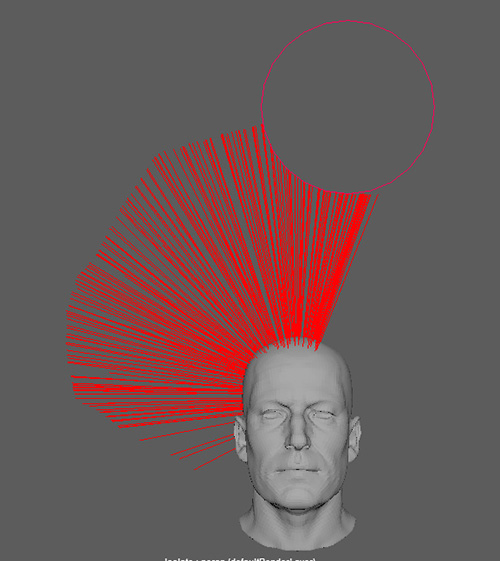 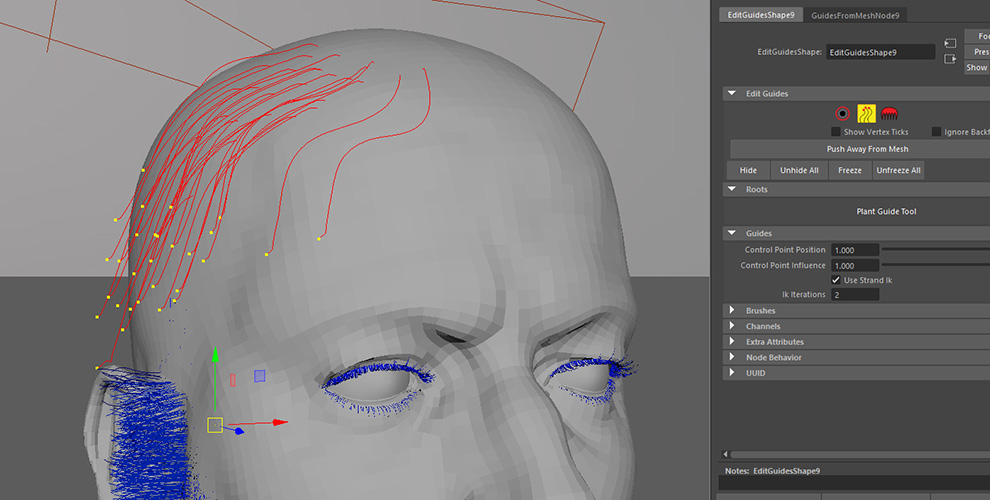 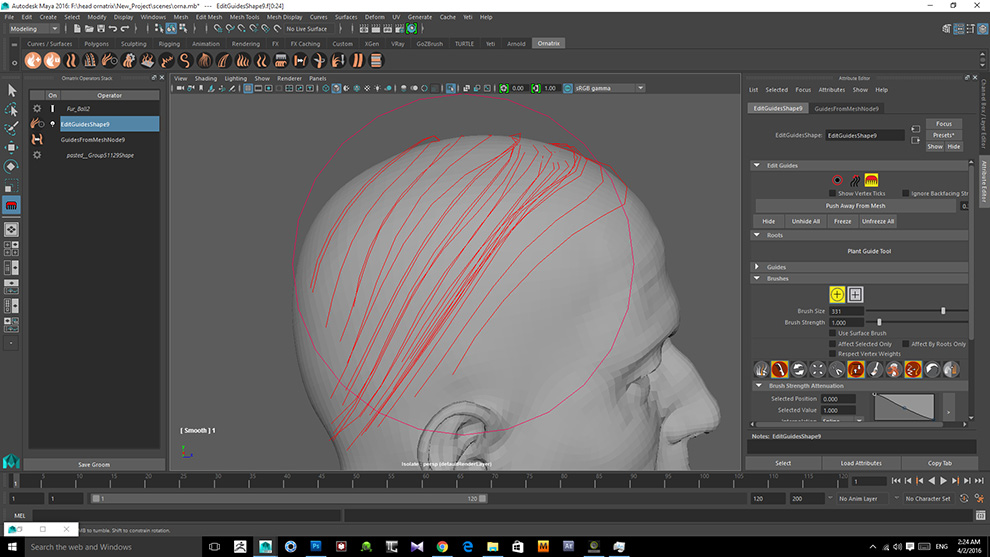 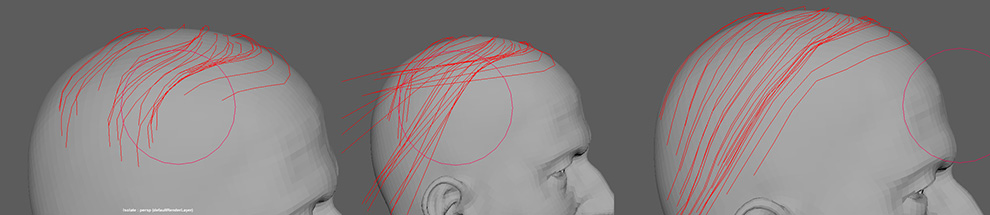 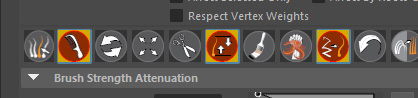 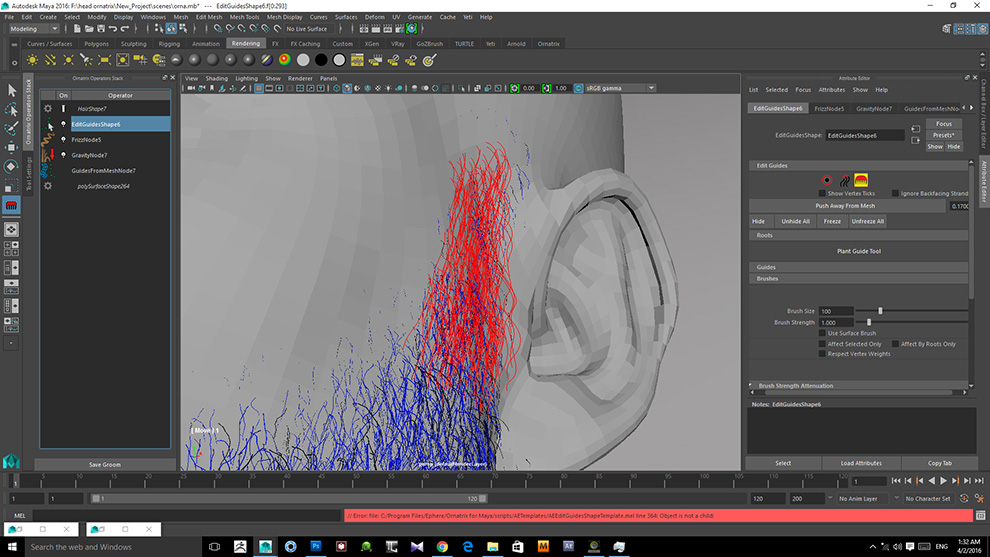 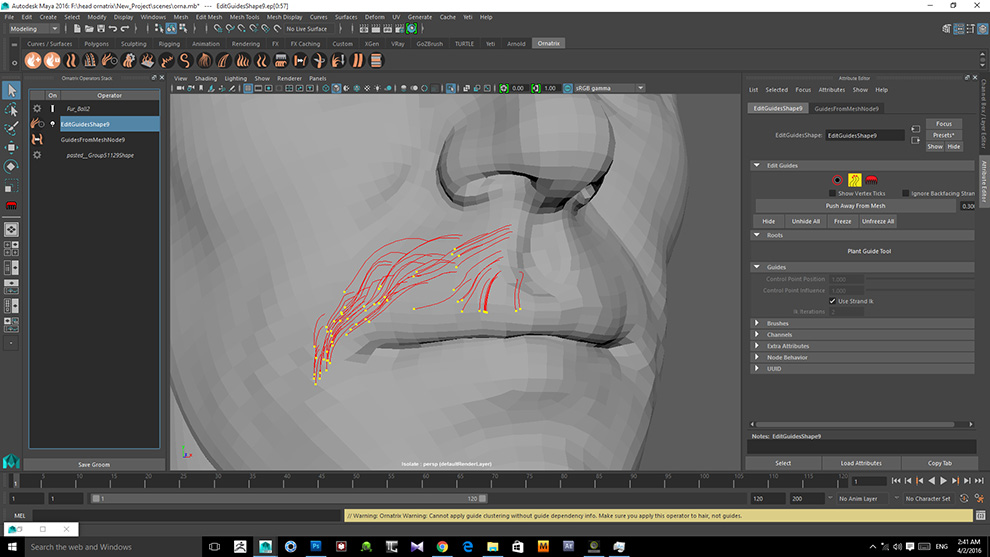 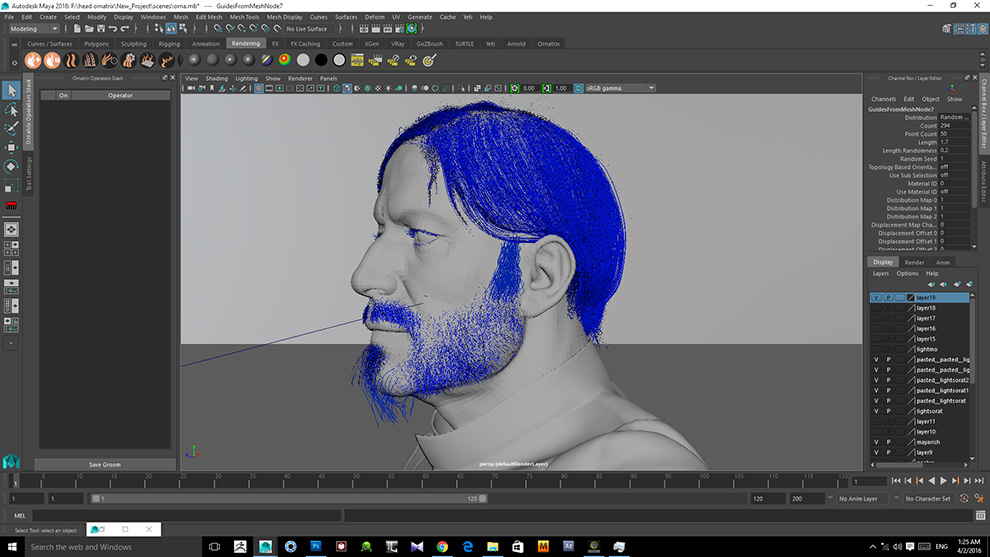 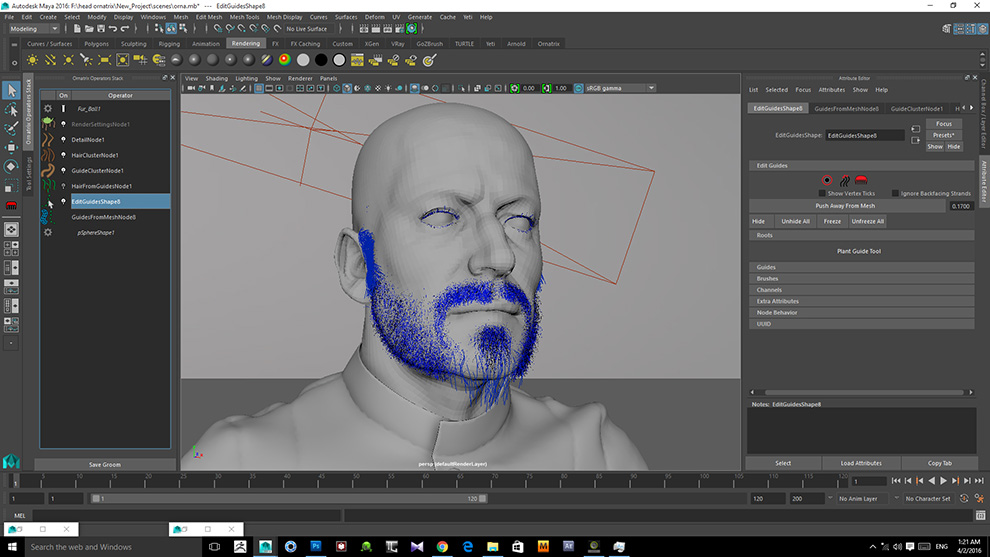 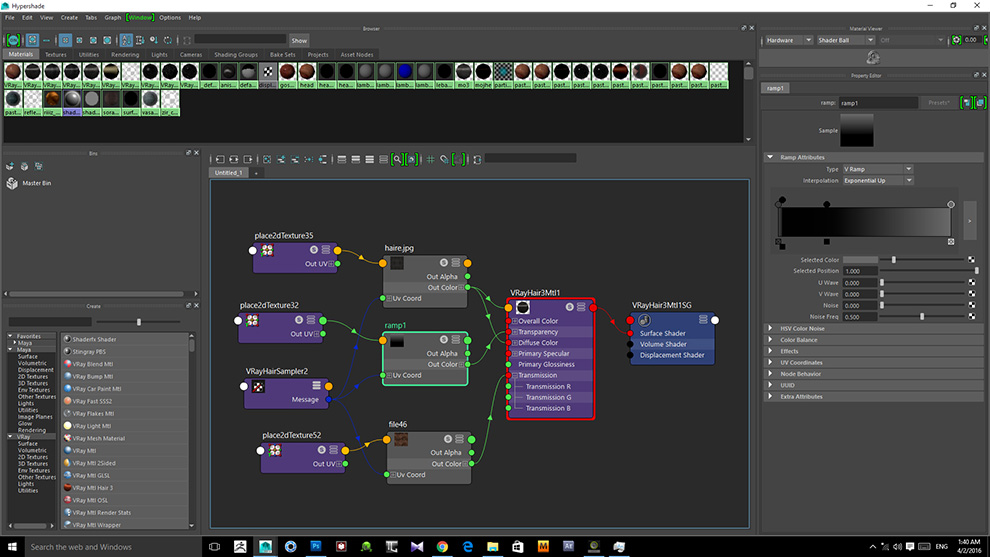 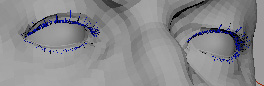 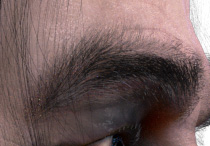 Marsel Khadiyev (Software Developer, EPHERE Inc.) |


