hi everyone. Just joined the great Ornatrix family :) I look forward for your guidance So i've installed ornatrix 5 for 3dsmax 2017, and i got a couple of questions and issues i have ran into. - I cant find ornatrix hair shaders. Neither of the 3 of them. So far only thing I have been able to use with it is the vray hair one. - I cant get to get that nice sharp look to the hair using hair from hairstrips, even tho my planes are quite tapered at the ends. Even tho in the model they are clearly very thin at the tips, most of the time they seem very squared when rendered as hair(and in the viewport)
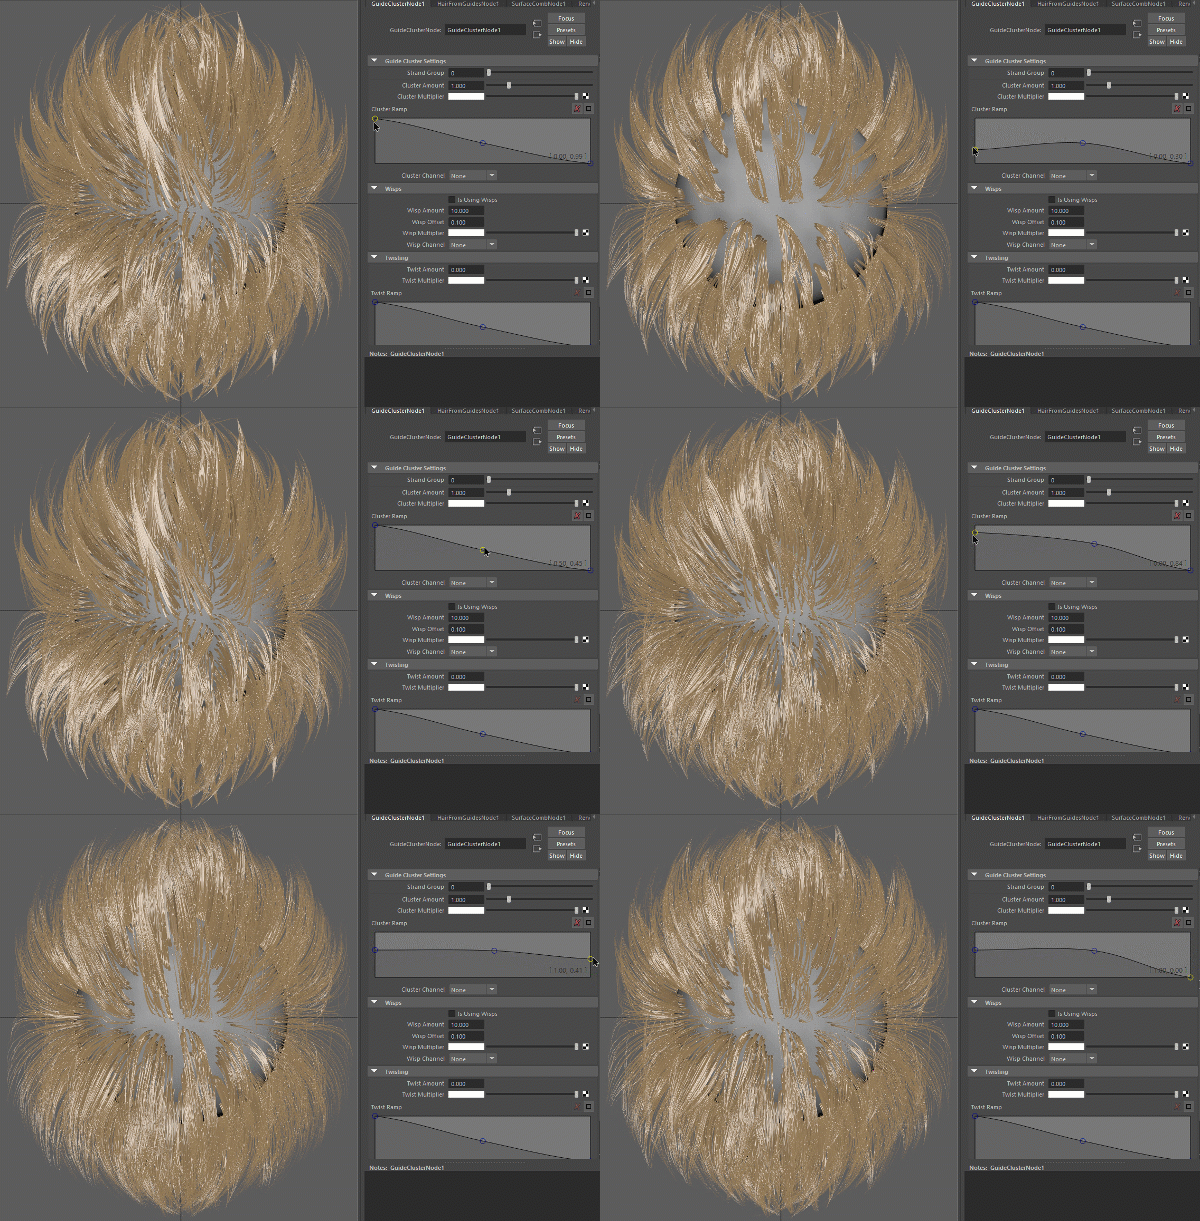
this is the maya image, as i couldnt get the example i sought out from the 3dsmax documentation . I also tried the hair multiplier, and give it a value in the root, but even still i cant get my hair spiky like that. https://ephere.com/plugins/autodesk/maya/ornatrix/docs/1/Ramp.gif 
like this basically, nice clumpy hair that tappers to a point like this https://s-media-cache-ak0.pinimg.com/736x/9f/84/79/9f8479eb8bc7b1d1e9d0266fce6bbbb3.jpg 
- Clustering doesnt work with hair from hairstrips? Neeither seems to work the length(i am trying to give the hairs random lenghts but doesnt look like its doing anything). -Also regarding hair from strips, i did model them, but looks like for some reason some of the hair strips go in the opposite direction(some hair flow goes up instead of down) of what they are supposed to. is there any way to reverse the direction on a per element basis?(or even if i detached that element to inverse the flow? i saw we have some options to globally change the direction of the hair but doesnt look like we can reverse flow from there(only go downwards or upwards globally not actually using the flow of the mesh - I could be wrong!) look forward for your guidance thank you ps: sorry for not sharing screenshots of my issues. I am not at home at the moment i can post later tonight thanks! vfx artist @Naughty Dog |
| Hi Fabio, I'm glad you got Ornatrix. If I recall correctly the Ox shader where depricated from Ox 5. I'll investigate further. Hair Clustering work with any type of hair, but Guides Clustering works only with hair based on guides (Hair from Guides and Hair from Curves/Shapes), so it does not work with Hair Strips because this type of hair is not based on guides, for this you would use Hair Clustering. Otherwise you have to convert the Hair from Strips into Guides and then Hair again. The one used in the gif is Guide Clusters. To make the hair less angular you can add more segments to the hair using the Pts Per Strand parameter and adding more subdivisions to the hair strips or using the Detaill modifier to add more segments. Guide/Strand Clusters: 
Hair Clusters using Hair Strips: 
Lenght modifier: 
To rotate the direction of the hair (Individual or globaly)In the HairFromMeshStrips you have to turn off Show End Results and go into object mode - Strips. There you'll see the arrows indicating the direction of the hair, select one or more arrows and hit Rotate Strips Directions under the Distribution roll out. We have a video about this in our youtube channel, more info in our documentation: https://ephere.com/plugins/autodesk/max/ornatrix/docs/5/Hair_from_Mesh_Strips_Object.html 
Let me know if you need something else. Jeordanis Figuereo (Product Designer. EPHERE Inc.) |
| hi Jeordanis, thank you so much for the reply. Great customer support. I am sorry It took me long to reply, i actually saw your reply sometime ago, and i have been meaning to reply but i wanted to get further before i did. I have done some progress in the hair, but im kinda stuck now. please take a look at what i have done so far and lemme know how i can get closer to what i want. Anyone feel free to help. 
thank you so much!
Attached Files: vfx artist @Naughty Dog |
| and some update 
Attached Files: vfx artist @Naughty Dog |
| Hi Fabio, You can use a Lenght modifier and increase the Ramdomize parameter to reduce the sharp cut in the long hair. I recommend creating some strands groups for the hairs you want to affect and use the created strand group in the Lenght modifier so you only affect those hairs (I'm assuming you have only one hair system for this hairstyle). To create those clumbs in the reference, you can use a Guide Cluster modifier, this will cluster the hair based on the shapes you used to generate the hair, I also would inrease the render hair count in this case, this hairstyle need more hair density in my opinion. Play with the Distribution Type, Interpolation Space and Interpolation Guide Count to make to hair follow the guides/curves/shapes better. I Recommend Affline Interpolation Space and Interpolation Between Tow Guides Count. This work for me but it depends and it might be different in your case, experimenting is key. To replicate the gradient from root to tip in the hair shading you should use the VRayHairInfoTex (Linked to VRay docs), this texture will help you a lot with the shading. The character is looking great! well done.  Jeordanis Figuereo (Product Designer. EPHERE Inc.) |
| thanks for the help and kind words. Quick question tho how can i make guides from shapes? i am not using a mesh emitter(and i couldnt find a way to use a scalp and use splines to guide it) so right now all my hairs are using the ox guides from shapes but ox hair from guides doesnt seem to do anything if i place it after the ox hair from guides(if i make the guides from a surface it seems to work) . the way i have been getting more hair is by using the ox strand multiplier. please let me know how i go about this if i am doing it incorrectly(also, using the cluster modifier gives me some bugs, sometimes the hair dsappears on the viewport , and if not it turns into geometry, but only with cluster modifier, im not sure if its supposed to do it) vfx artist @Naughty Dog |
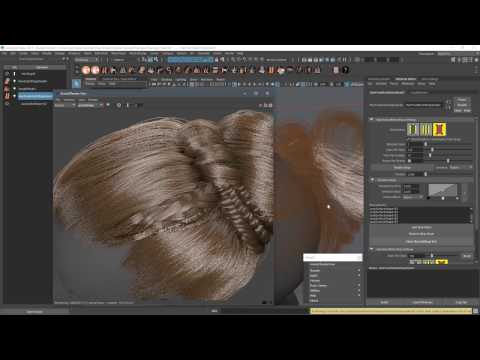
| I see you are using Guides From Shape but not in the optimal way. Basically you have to use the Ground Strands modifier on top of GuidesFromShape to attach the guides to a basemesh/scalp, this will ensure that Guide/Strand Clustering ahr HairFromGuides works correctly. We have a tutorial on this for Maya, but it is exactly the same for Max: 
Also you can find really useful information in our documentation, if you can't find something there let me know I will make sure to include it ASAP. Jeordanis Figuereo (Product Designer. EPHERE Inc.) |
| thanks for the help. im still having some trouble but making some progress. actually wanted to ask is there a way to update the splines(since i need more control on some of the hair) without messing up the rest of the hair? I tried to go to ox guides from shapes and re mport the new splines but looks like it doesnt do anything. i then tried converting my splines that had hair to editable spline(i collapsed the stack on OX edit guides and removed the upper modifiers) and then merged ther new splines and made a new hair, but when i click to root the strands on grounded modifier the hair just goes crazy like in the image on the right. Also..for some reason everytime i click root, then click root again the hair always goes crazy. Whats the best way of adding the new splines into my hair? thanks in advance 
Attached Files: vfx artist @Naughty Dog |
| Hi Fabio, There are two ways to add new splines into your hair: 1- Add an Ox Edit Guides modifier, in Edit Guide Roots mode use Plant Guides. 2- Add an Ox Edit Guides modifier, expand the Import Curves roll out and use Import Splines or Import Multiple Spline and select the new splines. More info in our documentation: https://ephere.com/plugins/autodesk/max/ornatrix/docs/5/Edit_Guides_Modifier.html Jeordanis Figuereo (Product Designer. EPHERE Inc.) |
| i see whats happening, the script i wrote to extract the splines from obj are breaking the splines, thats why they are not being imported properly. if i create a curve from scratch it works. One more question, since im importing them in the edit guides modifier, how should i ground the new splines? thank you so much vfx artist @Naughty Dog |
| There is not need to ground the imported splines, they should be automatically attached to the surface. Jeordanis Figuereo (Product Designer. EPHERE Inc.) |
| thanks Jeordanis, thanks for all the help. I carefully extracted the splines, made sure all of them start at the root(number 1 at root so none of them are reversed) then added them with multiple splines on ox edit guides, but the hair goes all crazy. i thought it was because they needed to be all split, soi tried again with all splines individually, but still same issue. even deleted everything, reattached all of them , xform, collapsed, then created hair from the start, rooted them(ground) but it still looks crazy. im not sure whats going on... 
Attached Files: vfx artist @Naughty Dog |
| Hey Fabio, Be sure the splines and the distribution mesh have the pivot in the same point. Jeordanis Figuereo (Product Designer. EPHERE Inc.) |
| thank Jeordanis unfortunatly im still getting weirdness... made sure all my splines are at 000(same as the original distribution mesh) but it still goes nuts 
vfx artist @Naughty Dog |
| Alright, I'll take a look into the scene. Jeordanis Figuereo (Product Designer. EPHERE Inc.) |
| hi there im having a bit of trouble using the brush. its hard to explain, but it seems like when i just want to brush a section in the middle of the hairstrands, or the roots, it seems to move the whole thing, same thing if i just to move the tips, it kinda propagates the whole thing. i tried using the strand strenght attenuation, but im not achieving the same results. is there a way to make it work a bit more similarly to hair&fur brush? its been quite difficult to style my hair like this...also i keep getting a lot of crashes when using the brush(and root selection tool) vfx artist @Naughty Dog |
| Hi Fabio, Maybe the scale of your scene is too small. Try using a small Strangth value for the brush. I can't reproduce the crash you are reporting. I'll keep trying, for know try turning OFF "Show End Results" when you are brushing the guides. Jeordanis Figuereo (Product Designer. EPHERE Inc.) |