Rendering with Redshift
Ornatrix hair is natively supported by Redshift. To render Ornatrix hair, simply set Redshift as the renderer and click Render. Both bucket rendering and IPR are supported.
Viewport vs. Render Hair Count
Some Ornatrix operators (such as Hair from Guides, Strand Multiplier, Merge, Hair from Mesh Strips, and others) are generators that may output a reduced number of strands as a preview to improve viewport performance.
For example, Hair from Guides includes a Render Count parameter that defines the number of strands used in a bucket render, and a Viewport Count Fraction parameter, which specifies the percentage of the Render Count to display in the viewport.
During a bucket render, these operators automatically switch to generating the full strand count. However, in IPR mode, Redshift uses the preview strand counts defined in these operators. You can force all operators with viewport vs. render-time settings to evaluate the full strand amount (as in a bucket render) by enabling the Render-Mode Evaluation option found in the Hair Shape node settings.
These settings also affect the output when exporting a Redshift proxy. Be sure to enabled Render-Mode Evaluation when exporting a proxy.
Hair Min Pixel Width
The Min Pixel Width option helps reduce aliasing by slightly thickening hair strands and adding transparency at render time, resulting in cleaner-looking hair.
This parameter can be found in the Render Settings -> Advance -> Globals tab, under the Hair section.
For more information about this parameter please go to Redshift Documentation
Exporting as Proxy
Exporting Ornatrix hair as a Redshift proxy is very simple:
- Select the hair shape node of the groom. This is the top node in the operator stack:
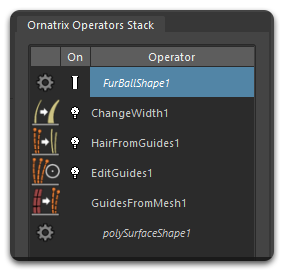
- In the Attribute Editor, enable Render-Mode Evaluation. See Viewport vs Render Hair count for an explanation about this parameter.
- In the main menu, go to Redshift > Proxy > Export.
- Type a file name and click Export Selection.
Texturing and Shading
Texture Coordinates
The hair and any assigned textures or shaders are translated for Redshift at render time.
By default, the hair inherits the UVs of the distribution mesh set in Guides from Mesh or Ground Strands.
 |
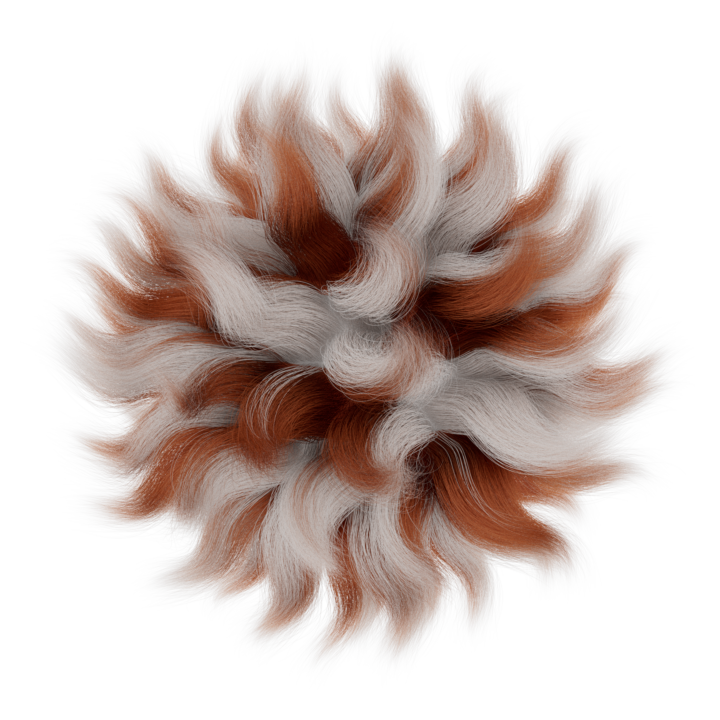 |
| Distribution Mesh with a checker texture | Hair with the same material as the Distribution Mesh |
Per-Strand Color
In addition to UVs, Ornatrix also exports Curve IDs to all supported renderers. This enables advanced shading techniques by allowing you to add color or texture variation across individual hair strands.
One useful tool for this is the Hair Random Color utility. It uses the Curve ID data provided by Ornatrix to randomize a color for each hair strand.
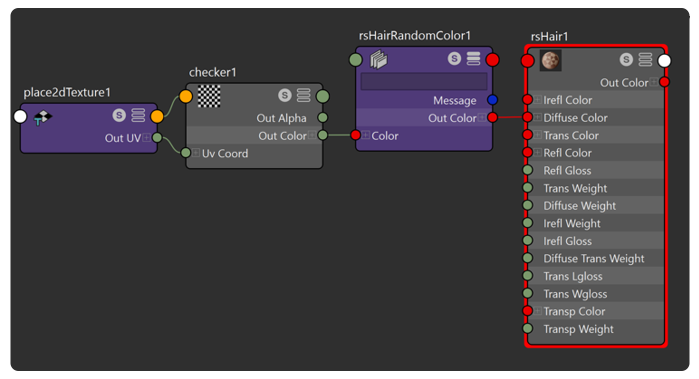
In the following example, we use the Hair Random Color node to randomize the diffuse colors of the checker texture. Play with the Hue, Saturation and Value amount until you get the desired effect:
 |
 |
|
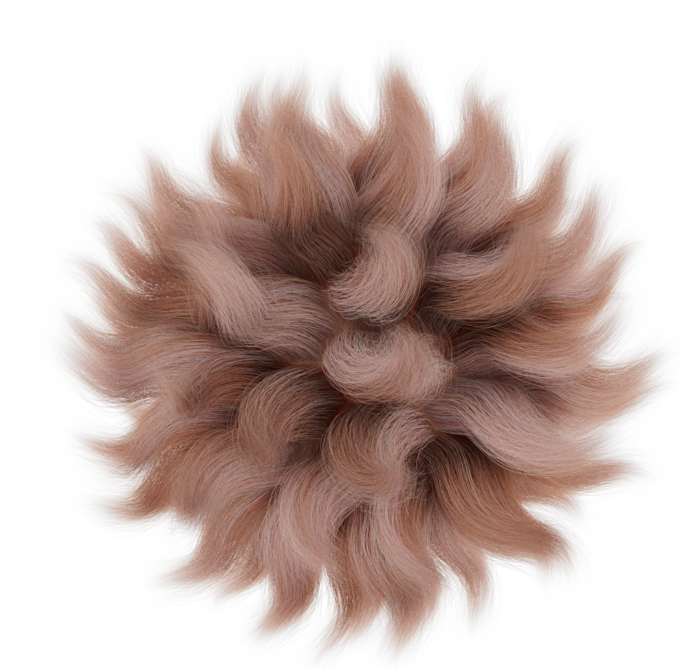
| Hair Random Color connected to the diffuse color of the hair shader | Checker texture randomized using the Hair Random Color |
Click here to learn more about the Hair Random Color utility.
Color Along the Strands
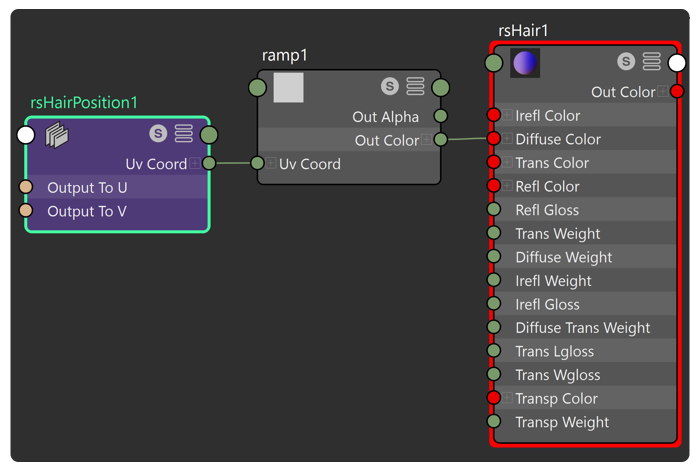
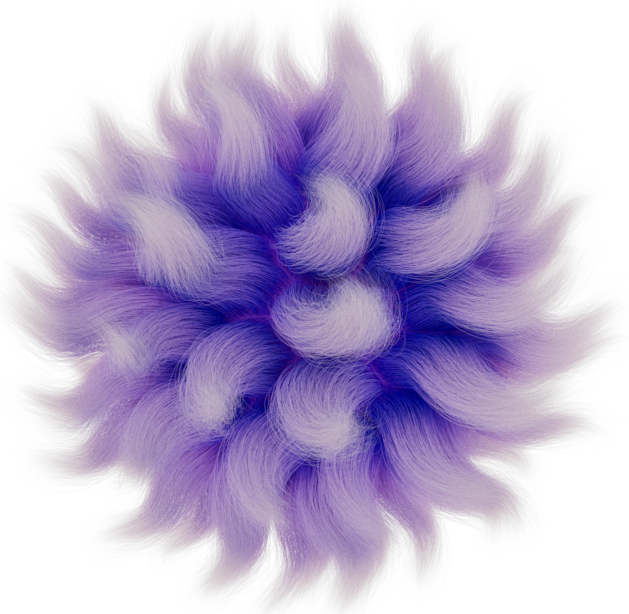
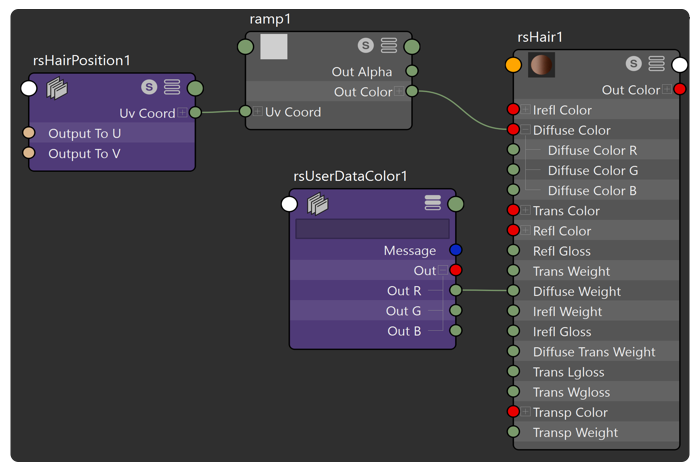
The Redshift Hair Position node outputs the position along the strand of the hair. In the following example we use it to color the hair strands with a gradient from root to tip:
 |
 |
|
| The Hair Position node is connected to the UV Coord input of the Ramp Texture node | The gradient colors flows from root to tip along the strand |
Click here to learn more about the Hair Position node.
Strand Channels
Strand channels can be used in the shading graph by exporting them as render attributes.
In the following example, we use Redshift's Color User Data node to bring strand channel data from our groom into the shading graph.
The strand channel data is then used to mask out the gradient color in the shader. First create a strand channel.
The most typical way to specify strand channels is to do it on guides using the Edit Guides, but you can also add this operator on top of Hair from Guides to create channels directly on hair strand.
Creating strand channels manually using the Edit Guides operator is straight forward:- In Edit Guides, find the Strand Data section and expand the Strand Channels section.
- In the Strand Channel List, use the Add/"+" button to create a new strand channel.
- In the Create Strand Channel dialog enter a name for your channel, a channel type and enable "RGB" if you want a color channel. Click Add.
The best strategy is to name channels according to their purpose, and organize so you know clearly which channel performs which operation.
You can Remove a channel using the Remove / "-" button.
You can Rename a channel by double-clicking on it and typing a new name.
The channel list also provide a right-click context menu to Add , Remove and Rename strand channels.
Click here to learn more about Strand Channels and how to create them. You can also generate procedural strand channels using the Generate Strand Data operator.
Now that we have our strand channel, we can paint our color mask on the strands.
Painting Strand Channels
- In Edit Guides, select the Strand Channel that you just created.
- Enable the Paint Brush.
- Set a color value for the Paint Brush in the Tool Settings window and start painting.
Painting a Per-Vertex channel
Painting a Per-Root channel
Note: The channel name can not be longer than 16 characters.
This example is using a per-strand channel where all the strands to the left of the groom are masked out: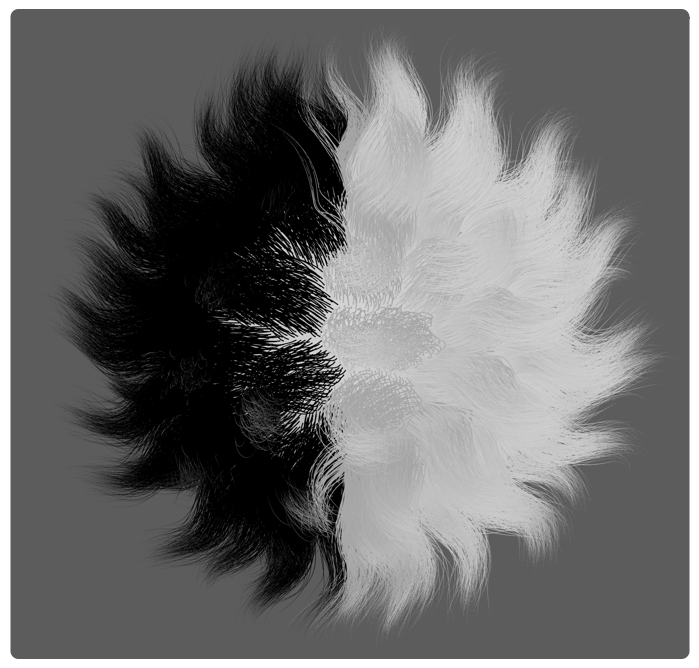
Now we can reference this attribute using Redshift's Color User Data node.
Exporting Strand Channels as render attributes
To add a new render attribute:
- Select the Hair Shape in the Operator Stack to see its settings in the Attribute Editor.
- Expand the Render Export section.
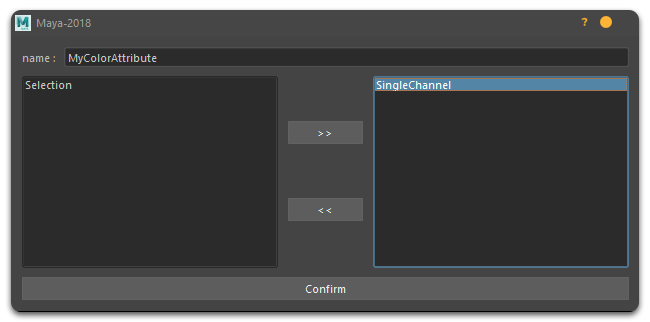
- Enter a desired name for the attribute in the Name field. This name will be used to reference the attribute inside the shading pipeline.
- Press the + button on the right of the name text box to open the channel selection dialog.
- Select one or more existing strand channels from the list on the left and add them to the list on the right using the >> button. You can use the << button to remove the channels.
- The number of exported channels will determine the type of the render attribute. Exporting a single channel will export greyscale values, exporting 3 channels will export RGB values.
- The order of the channels is important, they will map to R, G, B components in the order they are listed.
- Arnold supports up to 4 channels, one is interpreted as
float, two aspoint2, three asRGB, and four asRGBAattribute. - Redshift supports up to 4 values, the exported attribute has RS_ATTRIBUTETYPE_FLOAT4 type, if less than 4 channels are provided the remaining components will be set to 0.
- Press Confirm to create the render attribute.
 |
In this you can see this workflow in action |
- In the material editor, add the Color User Data node.
- In the Attribute Name field of this node, type the name of the exported attribute.
 |
 |
|
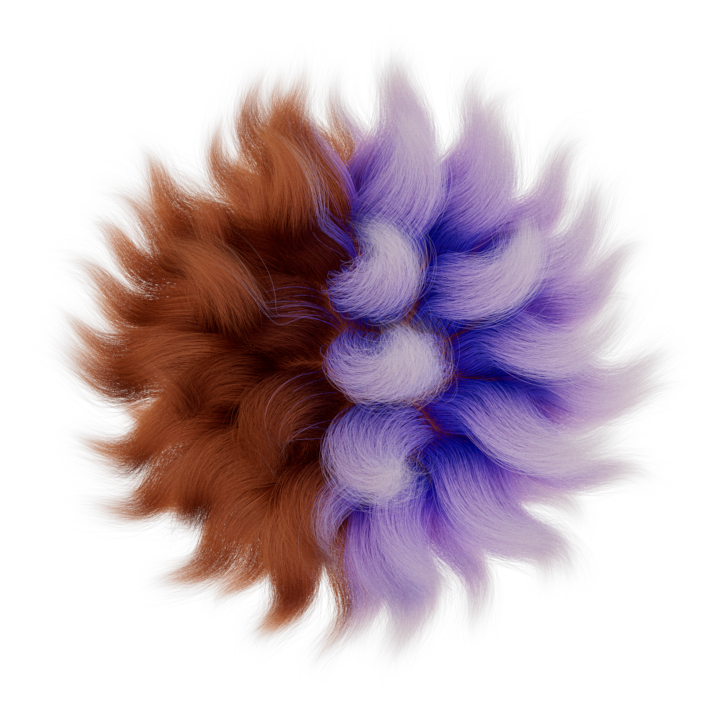
| Exported attribute referenced in the Color User Data node | Strand Channel used as a color mask in the hair shader |
Video Tutorials
| Painting Ornatrix Hair | Ornatrix Hair Shading in Redshift |