Edit Guides Operator
- Edit Guides Operator
Quick summary
Edit Guides shape gives you the ability to tweak the hair guides by hand. You can plant new guides, delete guides, change their shape in various ways, brush them, and perform other operations which are done by hand instead of parametrically.
This operator is broken down into three main sections (or levels) of guide editing. Using these three methods together should allow you to produce any arbitrary hair volume shape, which can then be fine-tuned using hair state modifiers.
Getting started
Select your hair shape and show the hair stack. Use Ornatrix shelf to find the Edit Guides operator button. Click this button to add the Edit Guides operator at the current position of the hair operator stack.
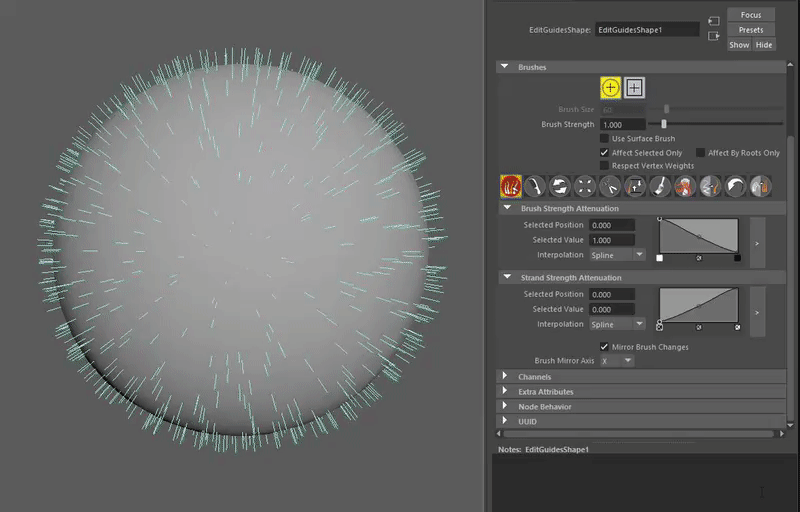
Root editing mode
Selection
Deselecting all guides in root editing mode will also deselect the guide shape. Therefore, it is important to keep at least one root selected before switching selection to one or more other roots. If you accidentally deselect all guides then you can continue by selecting the Edit Guide Shape in the hair stack again and going back into root editing mode. When using the selection tool, the amount of selected guides will be shown under the Edit Guides section.
Guide Options
This section contains several options related to guide visualization and interaction:
- Ignore Back-facing Strands
When ON, any guides which are facing away from viewport camera will not be selectable or affected by the brushes.
- Show Vertex Ticks
When ON, points making up the guides will be displayed.
- Show Color Guides
When ON, a different color is assigned to each guide based on the strand groups previously created.
- Guides Width
This parameter is used to change the width of the guides for better visualization.
Guide Operations
This section include some functions for guide management:
- Hide
This button will hide the selected guides.
- Unhide All
Use this button to reveal the hidden guides.
- Freeze
This function is very useful when dealing with a lot of guides and you want to isolate which guides are affected by the brush tools without selecting or hiding them every
time.
- Unfreeze All
Used to Unfreeze all guides after you are done editing.
- Push Away From Mesh
Used to prevent guide intersection with surface.
- Adopt From Stack Top
Captures the current guide shape from the top of the stack into this modifier. Guides will be edited to look like current modifier stack result.
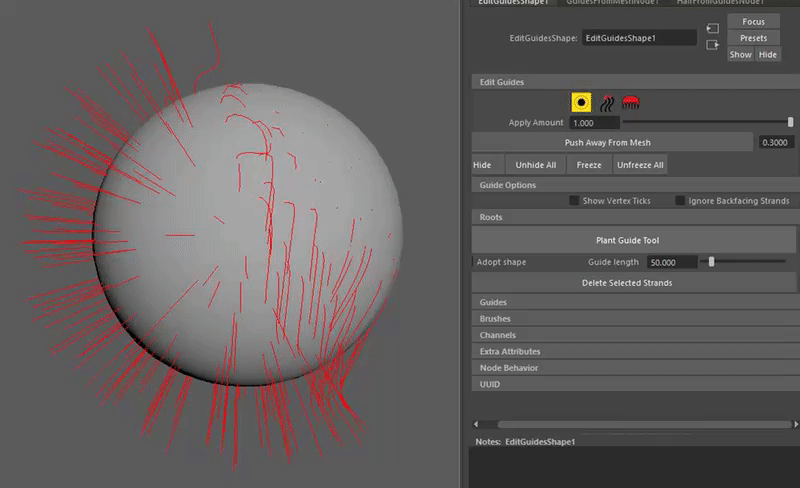
Planting new roots
You can use the Plant Guide Tool button to add guides to your model. After clicking it, click on top of the distribution mesh surface to plant new roots at these locations.

To exit root planting switch to Maya's selection mode by pressing the Q button.
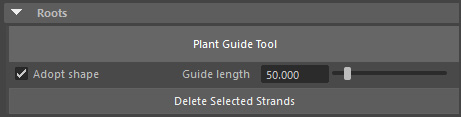
Adopt shape
When this option is on newly planted guides will use the same shape as the closest guide to the location where mouse was clicked.
Guide length
When Adopt shape option is off newly planted guides will be straight. This option controls the length of newly planted guides.
Rotate Strands
Allows you to manually rotate a strand or a group of strands.
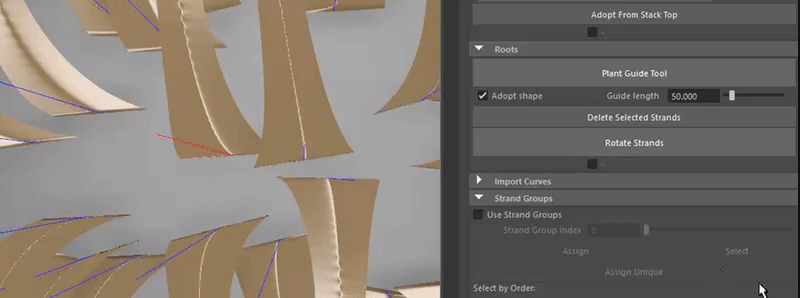
Deleting roots
To remove guides from your groom first select them inside the viewport and then press the Delete Selected Strands button. Using keyboard Delete button will not work because Ornatrix has a custom way of handling element deletion in shapes. Therefore, you need to use this button instead.
Import Curves
Use this section to import curves into the current hair object.
- Import Multiple
Opens up a list with all the curve objects in the scene, then you can select and import groups of curves to use as guides in the current hair object.
- Distance Threshold
If imported curves are further than this value from existing guides they will be added as new guides. Otherwise, existing guides will be updated will their shape.
- Custom Point Count
When ON, imported curves will have a specific number of points, otherwise they will have the same number of points as the rest of the existing guides.
Strand Groups
In the Strand Groups roll out you can quickly create and assign groups to the hair guides.

Select some guides and press the Assign Unique button, a new Strand Group will be created and identified with a color and a number starting from 0. You can also assign or select a particular strand value by selecting a value in the Strand Group slider and pressing Assign or Select. A Group Channel is automatically created and this groups will be passed to other operators in the hair stack, including other Edit Guides operators. Use the "Select By Group" option to select the group to which the selected guide belongs.
Re-target Changes

Normally, if the amount of guides is changed by inserting, deleting them or changing the guide interpolation the changes made in Edit Guides will be destroyed. You can mitigate that by using the Re-Target function after you made those changes. Ornatrix will try to blend the new guides with the rest.

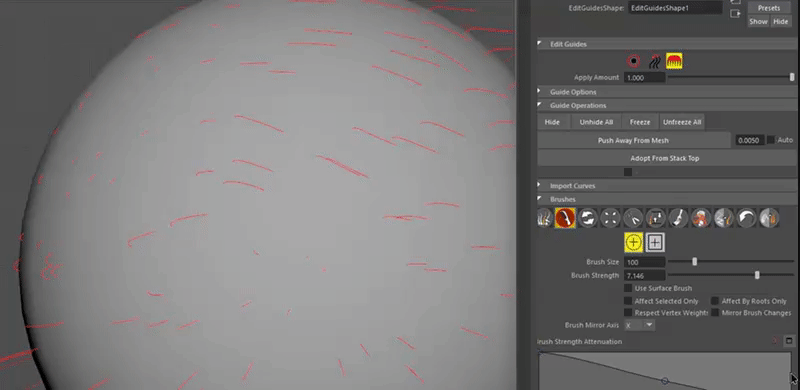
Brushing
Brushing allows you to modify multiple guides at the same time in an intuitive paint-like manner. Various operations are performed this way such as combing the hair, cutting it, and painting its channels.

To enter brush mode select the Edit Guides operator in the hair stack. In the attribute editor use the brush button to enter the brushing mode. Then select the brush you want and move your mouse over to the viewport area. Brushing is then done by clicking and dragging inside the viewport.
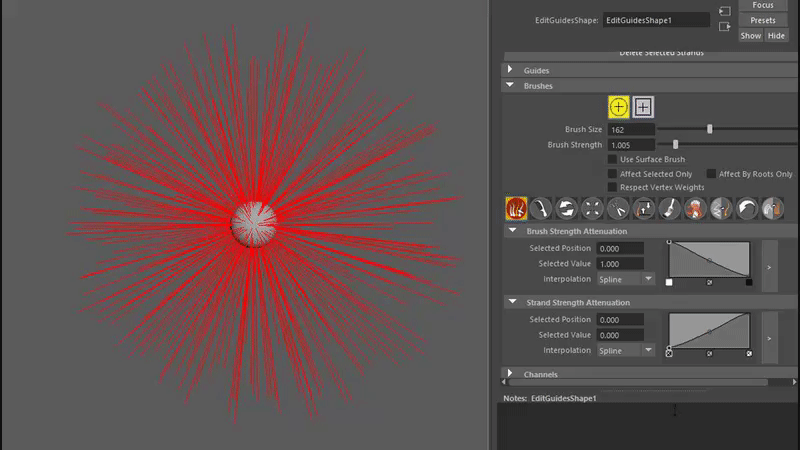
Brush Types

You can choose between three brush types that give you a different feel and control over the brush. Use a brush with a Circular or Rectangular shape for general editing, or use the Line Brush type to brush or edit the hair in a straight line.
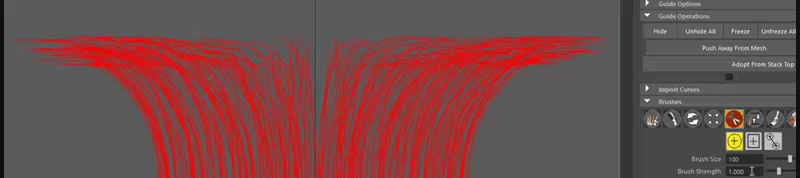
In the next example the Cut brush is used in combination with the Line Brush type to cut the guides in a straight line:
Changing brush size
The size of the brush determines the guides which this brush will affect. Only those guides inside the radius of the brush as displayed inside the viewport will be affected.
There are two ways to change the size of the brush:- While mouse is inside a viewport, hold down B button, click and drag the mouse cursor. This is the standard way in Maya to change brush sizes.
- Inside the Maya attribute editor there is a brush size slider. Use it to change the brush size.
Changing brush strength
The strength of the brush determines the amount of the effect brush has on the guides. The stronger the setting the more effect the brush will have.
There are two ways to change the strength of the brush- While mouse is inside a viewport, hold down M button, click and drag the mouse cursor. This is the standard way in Maya to change brush strength.
- Inside the Maya attribute editor there is a strength slider. Use it to change the brush strength.
Mirror Brush Changes
As the name said, when this checkbox is active the changes made in one side of the hair will be reflected in the oposite side in real-time. This feature works the same with all the brush types. This is very useful when you need a symmetrical hair or fur.

You can change the symmetry axis to X, Y and Z Using the Brush Mirror Axis roll-out.

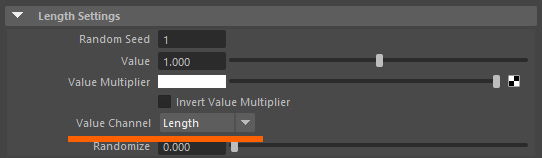
Brush Max/Min Limiter
Use the Brush Max/Min Limiter parameters to determine the maximum and minimum length applied to the guides by the length brush. This allows for a more precise control over the guide length.
Keyboard shortcuts for brushes
You can switch quickly between brushes using the keys Ctrl+[0-9,-] 
When Ctrl+0 is the Selection Brush and Ctrl+(-) is the Pull Brush.
Preventing guides intersection with surface
It is generally desirable for guides not to penetrate the surface from which they are originating. However, during editing it is easily possible for such intersections to happen, especially if many guides are edited en-masse. Use the Push away from mesh button in the attribute editor to solve this problem, the Auto option will perform this action automatically at every brush stroke. A separate parameter to the right of this button allows you to control the distance at which the guides should be away from the mesh. You can use this option many times throughout editing and you can undo its effects.
Managing guide channels
|
Guide channels tutorial |
Guide channels in Ornatrix are special per-strand or per-vertex attributes which you can add to a guides shape. These attributes will flow up the evaluation pipeline with the guides and, eventually, into the hair as well. These attributes can control various parameters in Ornatrix operators. For example, they can drive the length of the guides, or specify the magnitude used for curling. You can define as many guide channels as you need and reference them by name.

- To add a new channel click the Add button and name the channel
- To remove a channel select it from the list and click the Delete button
- To rename a channel select it from the list and click the Rename button
When a new channel is created all strands get assigned a value of 0 for that channel. You can set a channel value for specific strands by selecting them in root mode, selecting the channel in the list, and then using the Channel Value slider to set their value. You can also use the Set Value button alternatively.
When you have created a channel you can see it in the Channel drop-downs for parameters in various Ornatrix operators. Select the channel you created from the drop-down to assign it to said parameter.
Setting strand groups
A special channel name "Groups" is reserved for specifying a channel which specifies strand groups for guides. When you use this name for a channel, Edit Guides will assign the channel's values to guides as their groups.
Ensuring consistent results
Edit Guides operator works by referencing individual guides in your hair structure by their internal index. As such, it is important that once you perform edits with Edit Guides the count and order of input guides below in the operator stack remains the same.
The following could change guide count and order and cause your guide edits to become invalid:- Changing number of guides in Guides from Mesh operator
- Changing distribution parameters such as method, map, and multiplier in Guides from Mesh operator
It is therefore a good practice to use the "remember root positions" option prior to making changes in the Edit Guides operator,
Scripting
MEL access
Use these functions to work with an instance of an Edit Guides shape:
// Prompts a dialog to add a new guide channel to specified guides shape
global proc OxAddRootChannel( string $attributeName );

// Deletes currently selected guides channel from specified guides shape
global proc OxDeleteRootChannel( string $attributeName );

// Prompts a dialog to rename selected guide channel in specified guides shape
global proc OxRenameRootChannel( string $attrName );

// Sets value for selected guide channel and currently selected guides
global proc OxSetSelectedRootChannelValues( string $attrName, float $value );

// Prompts a dialog to set values of selected guide channel in specified guides shape
global proc OxSetRootChannelValues( string $attrName );

// Deselects all guide channels
global proc OxDeselectRootChannel( string $nodeName );
Troubleshooting
Roots and/or control points cannot be moved
- Problem: When in Strand or Control Point editing mode selecting one or more strands and using transform tool has no effect
- Cause: Maya's soft selection mode is on, which is incompatible with strand selection
- Solution: Use Ctrl/Command + B key shortcut to toggle off the soft selection mode
Guides are corrupt and jumbled
- Problem: After making edits and other operations within the scene Edit Guides messes up all of the guides
- Cause: The order and/or count of input guides has changed. Edit made to guides are being applied to incorrect guides.
- Solution: Make sure that you restore the same input guides parameters as they were when you made guide edits. See Ensuring consistent results section for more details.