


Creating Basic Hair Tutorial

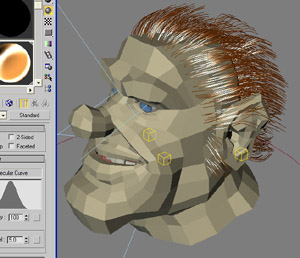
We start off with a hairless mesh (provided by Song Hwasup). First thing we do is detach the scalp. Scalp is the place where hair is distributed on the head so usually it is the top-back part of the head not including the ears, but it depends from model to model.
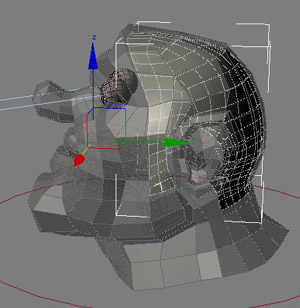
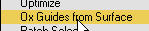

To the detached scalp mesh we add a modifier called guides from surface modifier. This will convert the scalp from mesh state into guide state.
By default global hair length might be too long or too short so you can change it using guide length parameter.
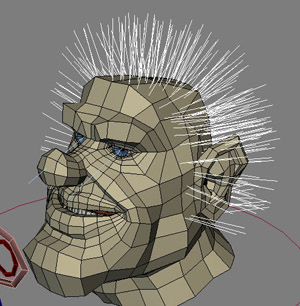
Afterwards you will get guides that stick straight out of the scalp like spikes.
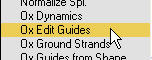
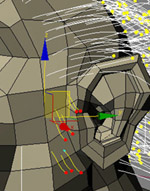
We will now add edit guides modifier, which allows you to move, comb, and do other things with guides not possible otherwise.
Select guides all at once or group by group and move them back of the head, to create a cocky hair style.


I used a cut brush with a rectangular influence area to cut the sideburns to a shorter length
Next I grabbed the sideburns and dragged them down.
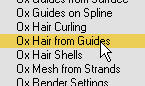
Next we add hair from guides modifier to convert our sparse guides into dense hair. In here you can control hair count parametrically and much like with particles, you have a separate viewport and render count. You can also switch between distribution and many other options.


After applying a frizz modifier and changing its parameters we can add randomness to every hair strand to make it look more messy and more volumized.
I increased the viewport count to 5000 just to see between how the hair will look during render.
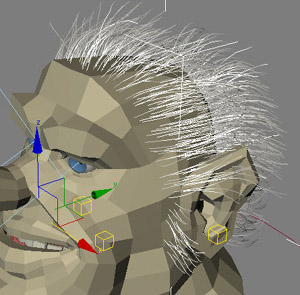
Next we add a fast raytracer atmospheric, create lights, and add our hair as one of the ray traced objects.


Hit render and this is the hair that I got right away. At this point you go in and start tweaking and styling hair further until you get the result that you wanted.

Happy styling !