Render Settings
Overview
When using a renderer or other means to output hair you can generally set up global rendering parameters such as hair thickness using the Render Settings operator. If you add this operator on your hair or guides it will alter the local render settings for the strands being passed through the pipeline. When components down the rendering pipeline evaluate the strands they will check if these local settings are specified and use them instead of the global ones.
If render settings operator does not alter the strands and global parameters aren't available the default parameters will be used.
Parameters
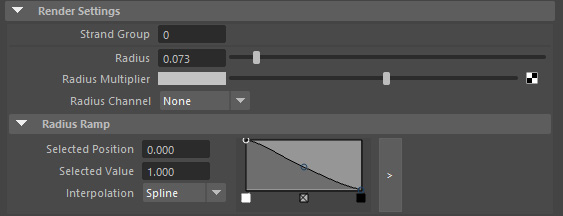
Strand Group
Specifies a strand group to which the render settings are applied.
Radius
Specifies the hair thickness. This will determine the radius of each hair strand.
Radius Multiplier
Add any Maya texture map here to specify the thickness variation along the surface of your distribution mesh.
Radius Channel
Specifies a strand channel or vertex color set used to vary the hair thickness for each strand.
Radius Ramp
Use this ramp control to specify the variation in thickness of each strand from root to tip.